


The Joy of Planting by Anna Campbell (2017)
Any pot will do!
Bags of soil,
On trikes.
A hullabaloo.
Little hands,
Plastic gloves.
Scooping, tipping.
A mighty crew.
Capsicum, pumpkin
Strawberries, daisies.
Carefully or hurriedly placed.
It’s crazy!
Water, warmth.
Constant checks.
Until ecstatic calls then,
Rivalry, quests.
Pride, care.
Time taken too.
It’s wonderful,
To see they grew.
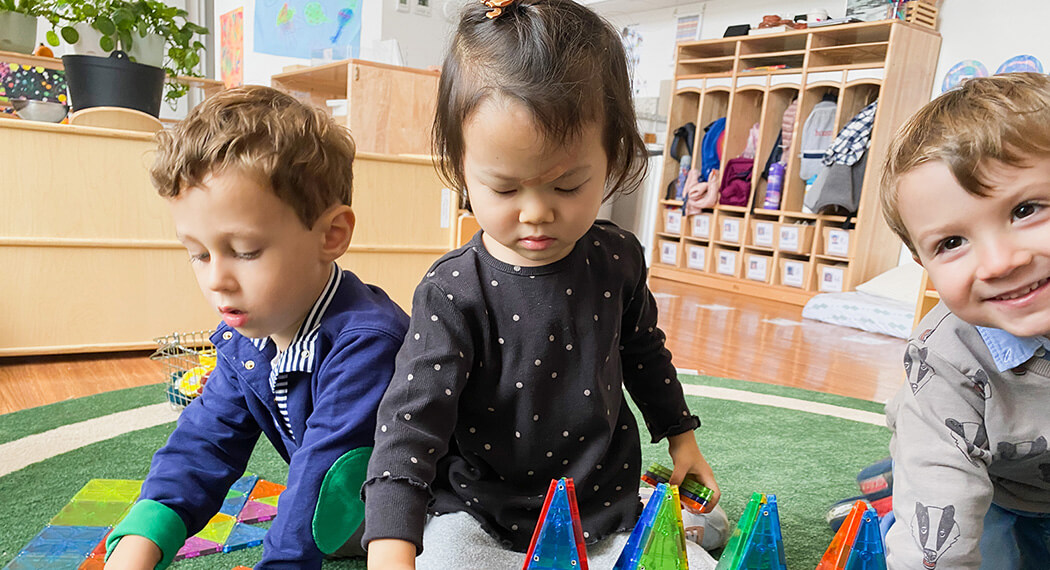
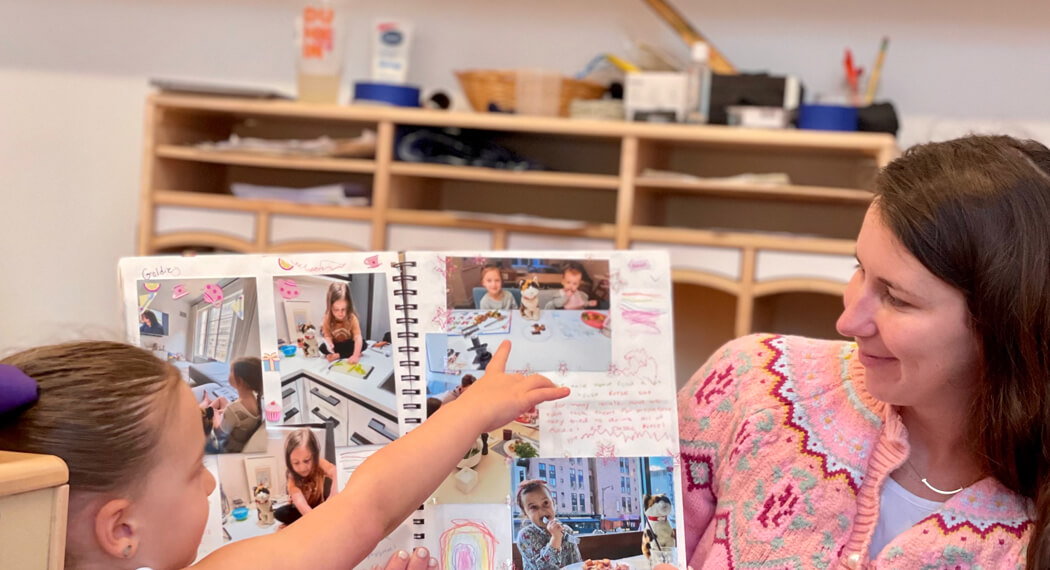
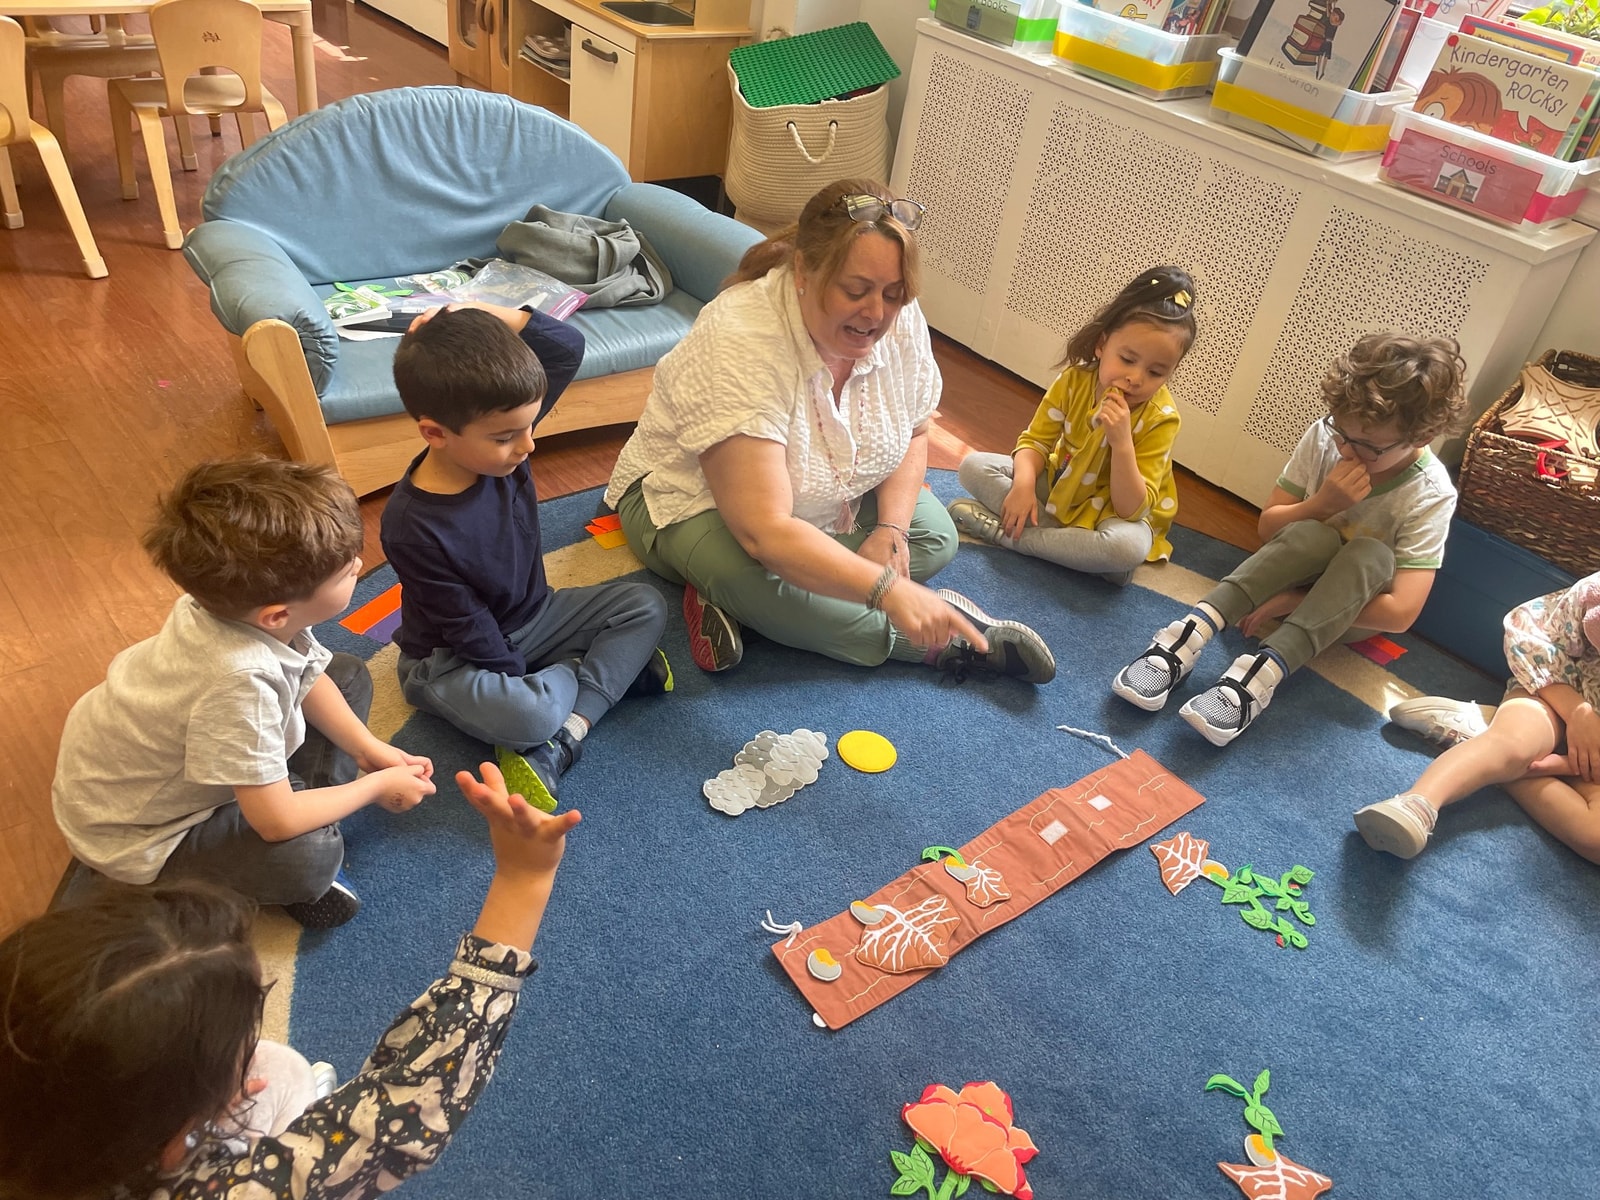
In the last two weeks of science for this school year, the Rainbows, Skeletons, and Super Lollipops focused on the life cycle of plants.
Last week, the children created a Greenhouse in a Bag, attempting to germinate a bean seed in a ziplock bag with only a piece of paper towel and some water. Before starting their exploration, the children learned about the life cycle of plants, from seed to roots, to shoot/sprout, to stem, leaves, buds, and flowers. Having agreed that plants need soil, water, and sun to survive, the children predicted that the seeds could not grow in the Ziploc bag as they would not have sunlight. Some hypothesized that the plants would not have enough air in the bag to grow. A few friends stated that paper towels were made from trees, which were plants, so maybe the paper towels would act like soil because there were plants in the soil. Others surmised that the seed would have too much or too little water in which to use for germination. After making the greenhouse in a bag and placing their seeds in the Ziploc bags, the bags were hung up in the window to get some sun and were left for the rest of the week. The children could check on the progress of their bean seeds throughout the week.
Note: We used two types of green bean seeds: Blue Lake Bush Beans and Tendergreen Improved Bush Beans.
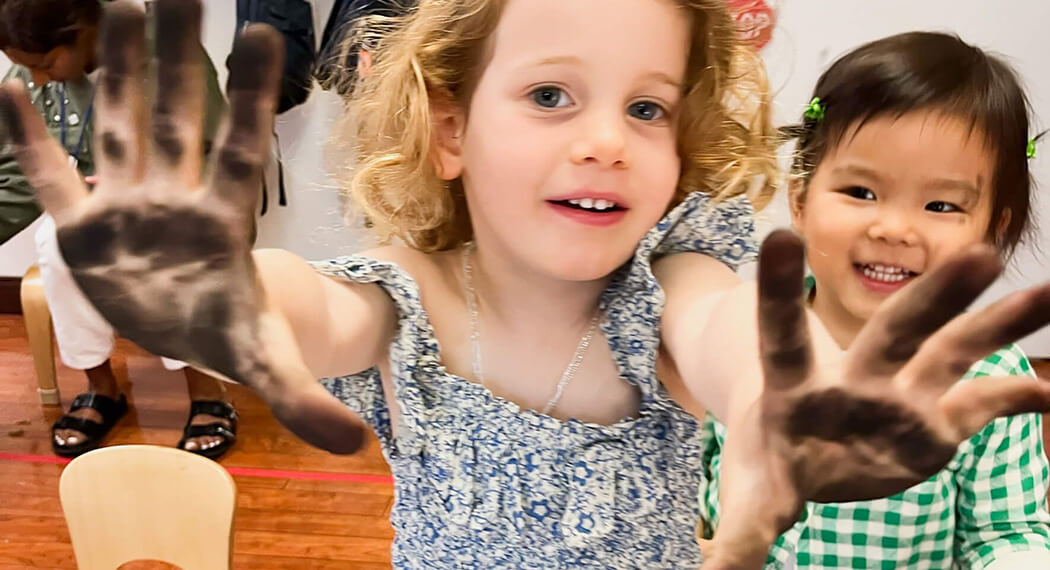
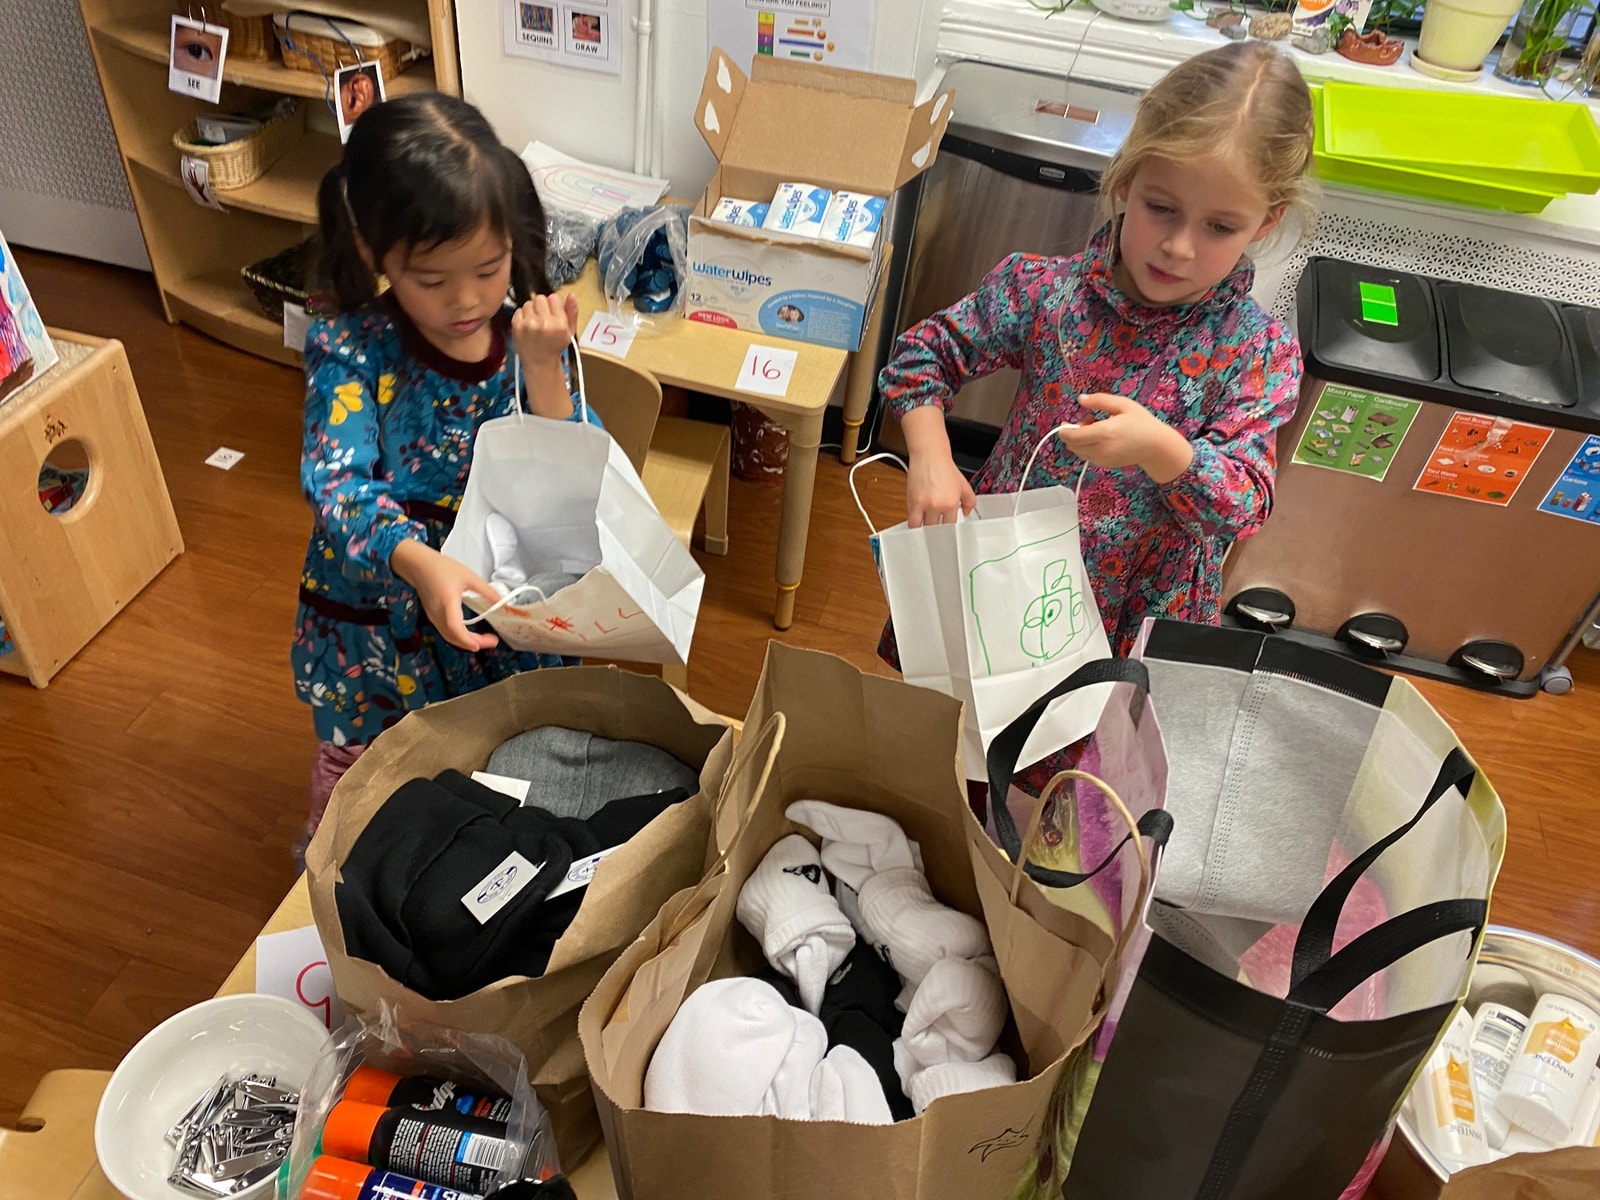
This week, we checked back in on our bean seeds, and guess what? They had started to germinate—we saw roots and shoots! It was time to take the germinating beans out of the bag and plant them in the soil, hoping they will continue to grow and flourish. First step: put a small piece of paper towel on the bottom of the pot so none of the soil would fall out, but excess water could still come out of the bottom, and air could still get into the soil. In the second step, add some pebbles or pellets (made from recycled materials and reusable) to help with drainage so the soil doesn’t get too moist. Third step: add soil. Poke a hole in the soil. Then, add the bean seed with the root down into the soil, gently cover the roots with the soil, and leave the green sprout out. The final step is to water carefully and place the pot in a tray in a sunny spot by the window.
Note: Once the plants start to grow, they may need to be repotted into a larger pot with more soil. As the plants grow, they develop flowers and bean pods, which are edible.
Have a wonderful summer! 🪴


